Your Guide to Diabetes Supplies: Glucometers
Glucometers are one of the most commonly prescribed diabetes supplies. Understanding how to use a glucometer and interpreting the results accurately is essential for effective diabetes management. By using a glucometer, people with diabetes can track their blood sugar levels and adjust their diet and medication regimen accordingly. This article covers the functionality of a glucometer, instructions for use, and tips for troubleshooting common issues with glucometers.
What is a Glucometer?
A glucometer measures blood glucose levels using a small blood sample obtained by pricking a finger with a lancet. Results are displayed within seconds on the meter’s screen, allowing for easy monitoring of glucose levels at home or on-the-go. Regular monitoring can help manage blood sugar levels and reduce the risk of complications such as nerve damage, vision problems, and heart disease.
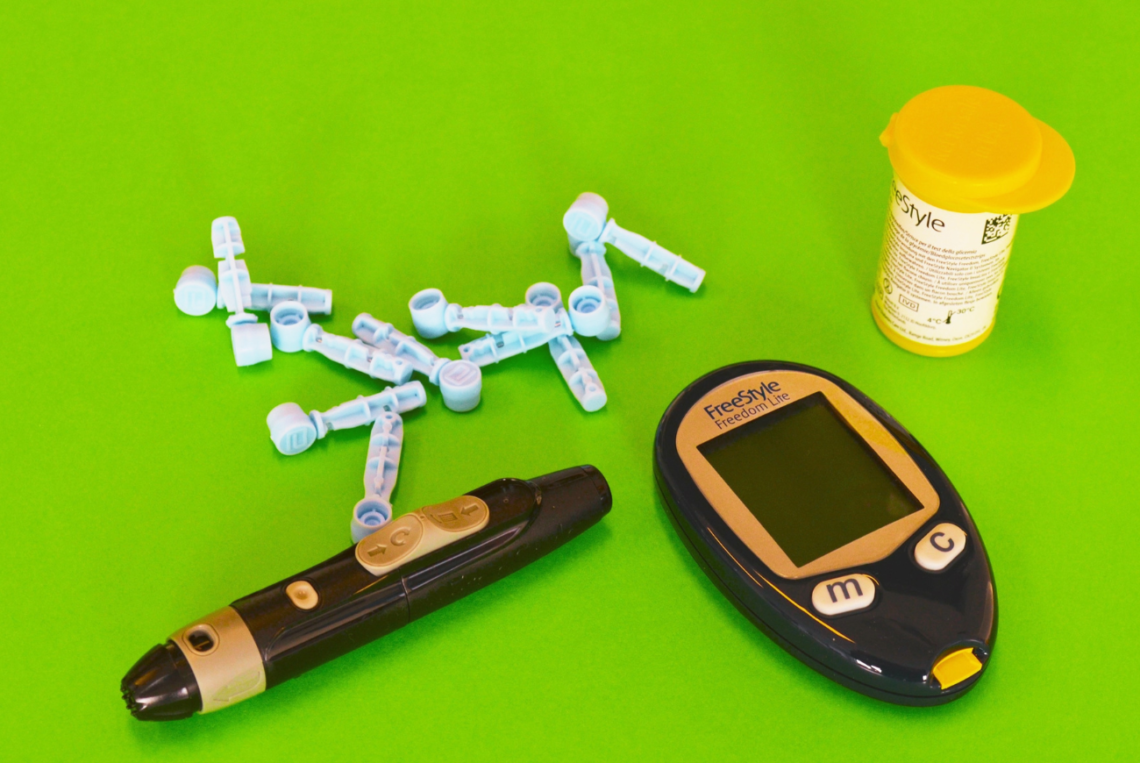
Parts and Pieces of a Glucometer
The meter itself contains a display screen, which shows the test results, and a memory function which can store readings over time. The test strip consists of a bottle containing a plastic strip with electrodes which the blood sample is applied to.
The lancing device is used to hold a lancet; a lancet is a sterile needle that pierces the skin to obtain a drop of blood from the fingertip.
Once the blood is obtained, it is placed on the test strip which is inserted into the meter. The meter then analyzes the blood sample and provides the glucose reading.

Using a Glucometer
Teaching a Patient How to Use a Glucometer
While the steps involved in using a glucometer are quite simple, establishing proper technique ensures accurate and consistent data. This video demonstrates how to instruct a patient on the use of a glucometer.
When Should Patients Check Their Blood Sugar?
Frequency of testing depends on the data you are trying to obtain. If you have recently started a patient on metformin, it is best to instruct them to check their fasting blood sugar after waking up. Metformin is known to suppress nocturnal hepatic glucose production.
When starting a patient on a GLP-1 RA or an SGLT-2, a fasting blood sugar plus a postprandial can be helpful to assess effectiveness. Waterfall testing, where the person checks pre- and post-breakfast on day-one, lunch on day-two, and dinner on day-three, can help obtain a variety of data without excessive glucose monitoring.
If a patient is on both basal and bolus insulin, it may be more appropriate for to check their blood sugars four to five times per day as a matter of safety.
Not sure what glucose monitoring frequency to recommend? Reach out to me to discuss your unique case.
Common Issues with Glucometers
Although using a glucometer is quite simple, many patients have trouble obtaining accurate readings. Providing training on the proper technique and how to troubleshoot errors, can ensure patient are using their glucometers regularly (and that you’ll have data to review!).
Insufficient Blood Drop Sample
A common reason for inaccurate readings is an insufficient blood drop sample. When the device does not receive an adequate amount of blood, it may not be able to provide an accurate reading. Insufficient blood can cause false high and low readings, as well as error messages. This is both frustrating and dangerous for the user.
To ensure an adequate sample is obtained, instruct patients on the following techniques:
1. Use a new lancet with each test.
2. Increase the penetration depth on the lancing device.
3. Try a thicker gauge lancet (30 or 28, instead of 33 gauge).
4. Ensure adequate hydration throughout the day.
5. Gently massage or warm the hand to increase circulation.
If your patient is still having issues drawing a sample, they may need to try an alternate testing site.
Painful or Uncomfortable
- Use a new lancet with each check. Lancets dull over time causing more pain.
- Try a finer gauge lancet—a 31 or 33 gauge lancet may be more comfortable.
- Use the edges of the finger rather than the pad, which has more nerve endings.
- Rotate testing sites to allow past sites to heal and avoid callous formation.
- Decrease the penetration depth on the lancing device.
- Try a numbing alcohol wipe.
Persistent Error Messages
- Damaged or expired testing trips. These will need to be replaced.
- The testing strip is not properly inserted in the glucometer. Discard and test again.
- The blood sample was applied to the strip after the screen timed out. Discard and test again.
- The blood sugar is too high or low for the glucometer to read. Most personal-use glucometers range 20-600 mg/dL.
- The glucometer is too hot or cold. Avoid leaving glucometers in the car or in direct sunlight.
- The blood drop sample applied to the strip is too small. Discard and test again.
If you patient continues to have issues or their testing frequency increases, considering prescribing a continuous glucose monitor—like Dexcom G7 or Freestyle Libre 3.
Key Takeaways
Glucometers are one of the most commonly prescribed diabetes supplies. Understanding how to use a glucometer and interpret results is essential for effective diabetes management. Proper training can ensure your patients have the skills and confidence to they need to effectively monitor their blood sugars.
Please reach out to me if your office or organization could use a hands-on refresher on glucometers and other diabetes supplies!


You May Also Like

Diagnosing Type 1 Diabetes in Adults
August 10, 2022
DSME/T: The Gold Standard in Diabetes Education
September 8, 2015
